
Table of Contents
فوائد الرموش الطبيعية المجمعة الفردية
كيفية تطبيق مجموعة وصلات الرموش السوداء، مجموعة رموش تمديد الرموش، مجموعة أدوات وصلات الرموش DIY،
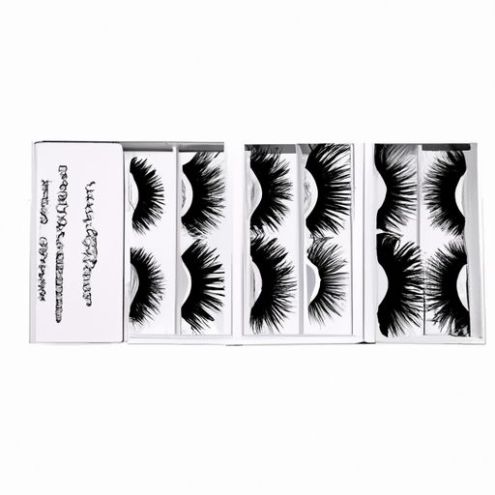
تعد ملحقات الرموش السوداء خيارًا شائعًا لأولئك الذين يبحثون عن تعزيز رموشهم الطبيعية. مع مجموعة الرموش الطبيعية من Medylashes، يمكنك الحصول على مظهر مذهل من المؤكد أنه سيلفت الأنظار. في هذه المقالة، سنرشدك خلال عملية تطبيق وصلات الرموش السوداء هذه باستخدام مجموعة أدوات وصلات الرموش التي يمكنك صنعها بنفسك.
قبل البدء، من المهم التأكد من أن رموشك الطبيعية نظيفة وخالية من أي مكياج أو زيوت. سيساعد ذلك على ربط اللاصق برموشك بشكل أفضل، مما يضمن ثباتًا يدوم لفترة أطول. ابدأ بتنظيف رموشك بلطف باستخدام منظف معتدل وماء، مع التأكد من إزالة أي بقايا.
بمجرد أن تصبح رموشك نظيفة، يمكنك البدء في تطبيق وصلات الرموش السوداء. ابدئي باختيار مجموعة من الرموش من مجموعة Medylashes تتناسب مع طول وسمك رموشك الطبيعية. باستخدام زوج من الملقط، اغمسي قاعدة المجموعة بعناية في المادة اللاصقة المتوفرة في مجموعات أدوات تمديد الرموش التي يمكنك صنعها بنفسك.
بعد ذلك، ضعي المجموعة بلطف على رموشك الطبيعية، وتأكدي من وضعها بالقرب من قاعدة الرموش. خط. ثبتي المجموعة في مكانها لبضع ثواني للسماح للمادة اللاصقة بأن تجف وربط الوصلة برموشك الطبيعية. كرري هذه العملية لكل مجموعة من الرموش، من الزاوية الداخلية إلى الزاوية الخارجية لعينك.
أثناء تطبيق وصلات الرموش السوداء، تأكدي من توزيعها بالتساوي على طول خط رموشك لإنشاء خط طبيعي. تأثير المظهر. تجنبي تطبيق مجموعات قريبة جدًا من بعضها البعض، لأن ذلك قد يتسبب في تكتل الرموش وتبدو غير طبيعية. خذي وقتك وتحلي بالصبر، لأن الدقة هي المفتاح عند وضع وصلات الرموش.
بمجرد وضع جميع المجموعات، اتركي المادة اللاصقة حتى تجف تمامًا قبل لمس رموشك أو التعامل معها. سيساعد ذلك على ضمان وجود رابطة آمنة ومنع الامتدادات من السقوط قبل الأوان. يمكنك أيضًا استخدام مشط الرموش لفصل رموشك وتنعيمها بلطف للحصول على مظهر أكثر كثافة وامتلاءً.
للحفاظ على وصلات رموشك السوداء، تجنبي فرك رموشك أو سحبها، لأن ذلك قد يؤدي إلى تساقطها. بدلًا من ذلك، قومي بتنظيف رموشك بلطف باستخدام منظف معتدل وماء، مع الحرص على عدم تبلل الرموش. يمكنك أيضًا استخدام فرشاة الرموش لتمشيط رموشك وإبقائها تبدو أنيقة ومرتبة. تحقيق نظرة براقة. من خلال اتباع الخطوات الموضحة في هذه المقالة واستخدام مجموعة أدوات تمديد الرموش التي يمكنك صنعها بنفسك، يمكنك إنشاء وصلات رموش جميلة وطويلة الأمد ستجعلك تشعرين بالثقة والجمال. فلماذا الانتظار؟ جربي وصلات الرموش السوداء هذه اليوم وارفعي لعبة رموشك إلى المستوى التالي.
Black lash extensions are a popular choice for those looking to enhance their natural lashes. With the Bonded Individual Cluster Lash Natural Lashes set from Medylashes, you can achieve a stunning look that is sure to turn heads. In this article, we will guide you through the process of applying these black lash extensions using the DIY Eyelash Extension Kit Clusters.
Before you begin, it is important to ensure that your natural lashes are clean and free of any makeup or oils. This will help the adhesive bond better to your lashes, ensuring a longer-lasting hold. Start by gently cleansing your lashes with a mild cleanser and water, making sure to remove any residue.
Once your lashes are clean, you can begin applying the black lash extensions. Start by selecting a cluster of lashes from the Medylashes set that Matches the length and thickness of your natural lashes. Using a pair of tweezers, carefully dip the base of the cluster into the adhesive provided in the DIY Eyelash Extension Kit Clusters.
Next, gently place the cluster onto your natural lash, making sure to position it close to the base of the lash line. Hold the cluster in place for a few seconds to allow the adhesive to dry and bond the extension to your natural lash. Repeat this process for each cluster of lashes, working your way from the inner corner to the outer corner of your eye.
As you apply the black lash extensions, be sure to space them out evenly along your lash line to create a natural-looking effect. Avoid applying clusters too close together, as this can cause the lashes to clump and appear unnatural. Take your time and be patient, as precision is key when applying lash extensions.
Once you have applied all of the clusters, allow the adhesive to dry completely before touching or manipulating your lashes. This will help ensure a secure bond and prevent the extensions from falling off prematurely. You can also use a lash Comb to gently separate and fluff up your lashes for a fuller, more voluminous look.
To maintain your black lash extensions, avoid rubbing or pulling on your lashes, as this can cause them to come loose. Instead, gently cleanse your lashes with a mild cleanser and water, being careful not to get the extensions wet. You can also use a lash brush to comb through your lashes and keep them looking neat and tidy.
In conclusion, applying black lash extensions with the Bonded Individual Cluster Lash Natural Lashes set from Medylashes is a great way to enhance your natural lashes and achieve a glamorous look. By following the steps outlined in this article and using the DIY Eyelash Extension Kit Clusters, you can create beautiful, long-lasting lash extensions that will make you feel confident and beautiful. So why wait? Try out these black lash extensions today and elevate your lash game to the next level.